
Plan start and end frames for a clearer AI video ad
Turn an approved product image into a manageable shot plan, check model capabilities and review motion before assembling the campaign.
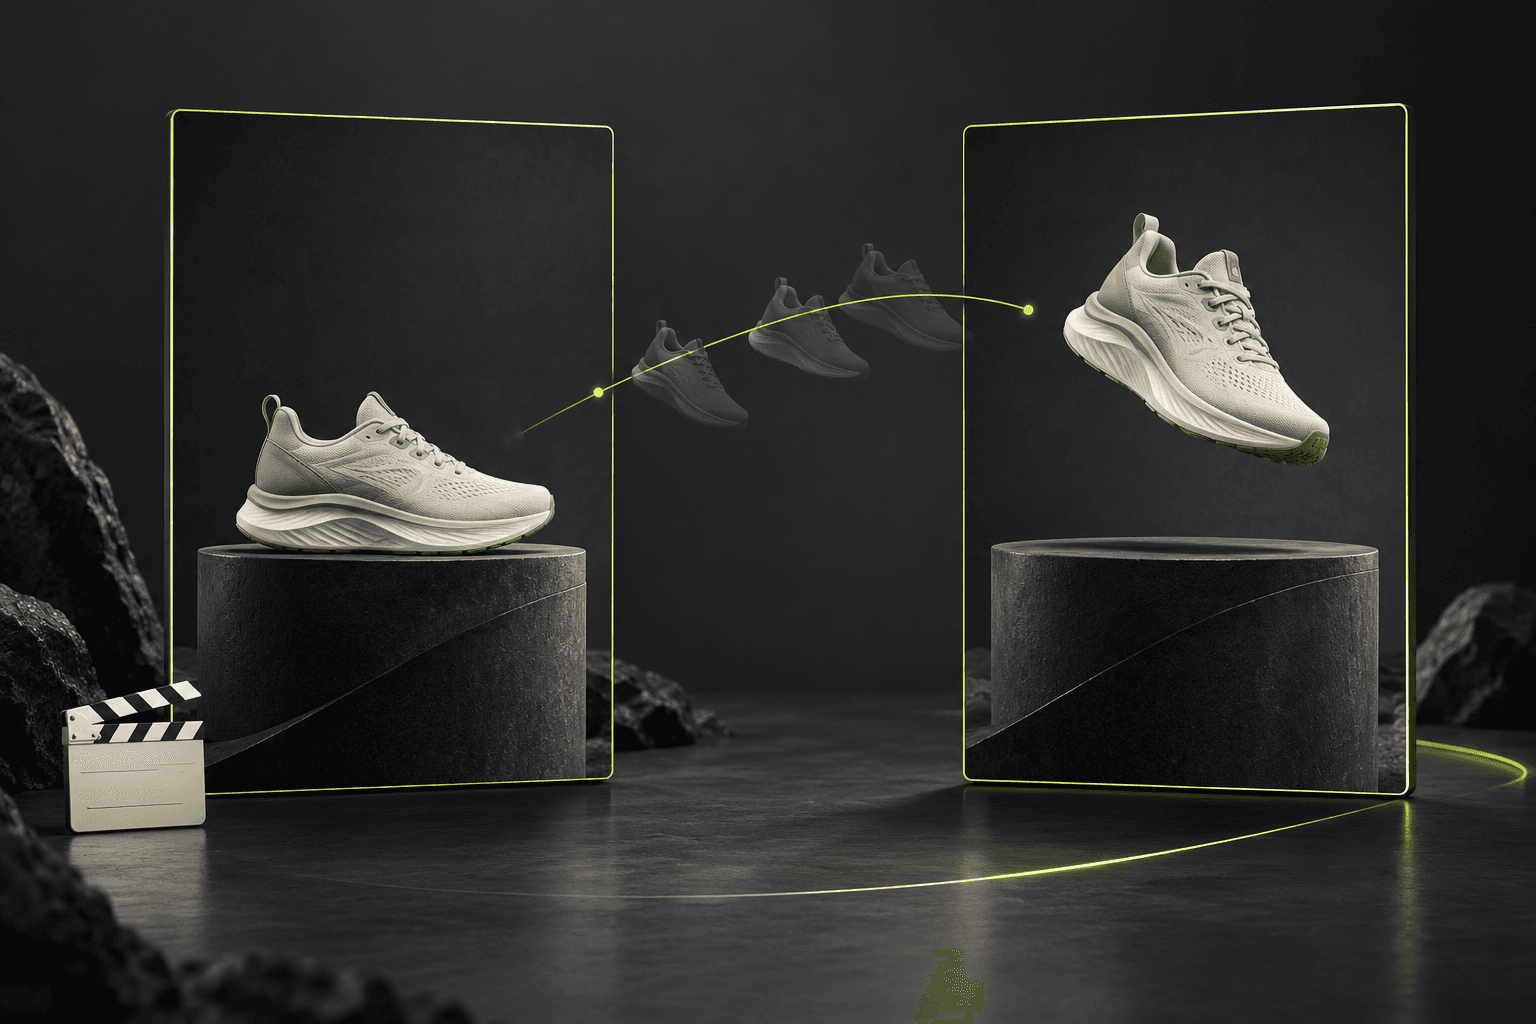
Give each shot one marketing job
Start with a short sequence: establish the product, show one useful detail, then leave a clear closing moment for the offer. Assign one action to each shot. Asking a single clip to introduce a person, change location, demonstrate a product and reveal a headline makes both the brief and the review harder.
Choose the target placement and orientation before preparing frames. Sketch the opening composition and the intended closing position, including room for later text. A first frame guides where the scene begins; an end frame can guide where it finishes when the selected model supports that control. Neither is a promise that every intermediate frame will match your product or that a transition will be physically plausible.
Check the model before preparing the inputs
Image-to-video, first-and-last-frame generation and video-to-video editing are different operations. Confirm which one the model offers, along with its allowed duration, dimensions and reference limits. For example, Higgsfield's documented Kling image-to-video interface distinguishes a required start frame from an optional end frame. That does not establish end-frame support for another model or another route.
In AI Campaign Studio, attach an approved library image, upload your own, or explicitly generate a new frame where supported. Review the separate image-generation cost before creating it. Keep the opening and closing images in compatible crops; where the video model derives its format from the start image, use that image's shape instead of planning around an unrelated default. A source-video edit needs a compatible editing model and valid footage, not just a still image.
Write motion that connects the compositions
Once the still looks right, explain the movement. Runway's image-to-video guide describes the input image as the source of composition, subject, lighting and style, with the text directing motion. Apply that distinction to your brief: describe what moves, how the camera behaves and what should remain stable, rather than rewriting every visible detail.
For a bottle reveal, an original starting brief might be: The camera makes a slow, shallow push toward the bottle. Light travels gently across the glass while the bottle stays upright and the label faces forward. Finish on a steady composition with open space beside the product. If you use an end frame, make it a plausible next composition with consistent product geometry and light. Avoid combining a large camera orbit with an unrelated final angle on your first attempt.
Approve clips before assembling the campaign
Inspect the whole clip, including the first and final seconds. Look for changing logos, flickering surfaces, distorted hands and invented product behaviour. If motion is wrong, simplify one part of the brief and review the new quote before another explicit attempt. Do not assume that a rejected or interrupted request should be resubmitted automatically; first check its recorded status.
Attach approved completed videos to the campaign scenes in the intended order. AI Campaign Studio can assemble those scenes into an MP4 when its renderer is available; this is a separate render step, not automatic ad-network publishing. Preview the final crop, pacing, audio and call to action before downloading. Model support and availability depend on the configured provider. Sample clips demonstrate the workflow and must not be presented as proof of a live model's output or of campaign performance.
Sources & further reading
- Runway: image-to-video prompting guide ↗
- Higgsfield API: Kling start/end-frame interface ↗
- Runway API: model-specific input requirements ↗
Product documentation can change. Check current provider controls and terms before production.