
Image-to-video or video-to-video: choose the right starting point
Understand when to animate a product still and when to edit existing footage, with practical input, motion and review checks for branded ads.
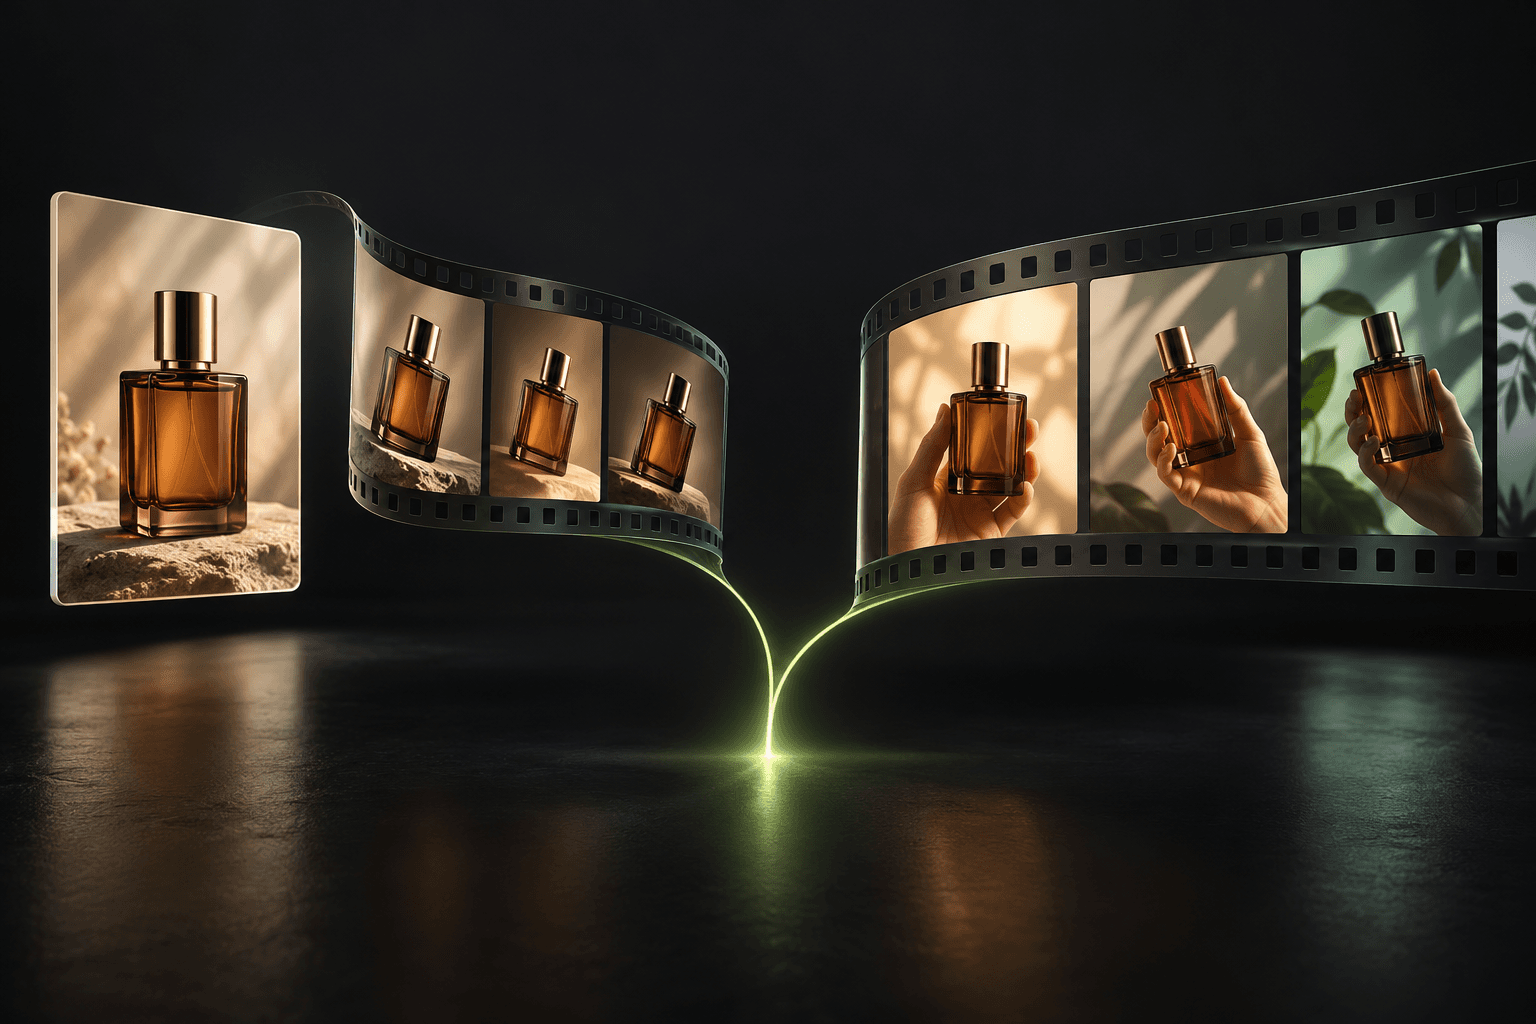
Choose according to the material you already have
The useful distinction is the starting material. Image-to-video begins with a still and asks a model to create movement. Video-to-video begins with footage and asks for an edit or transformation. Choose the workflow after identifying which part of your asset is already valuable: the product composition in a photo, or the movement and timing in a clip.
For a headphone launch, a sharp catalogue photo may provide the product view you need while leaving the camera movement to be created. If you already filmed a controlled turntable shot, that existing motion may be a better starting point for an editing workflow. These are planning examples, not evidence that a particular model will preserve every material, logo or movement exactly.
Use image-to-video to develop motion from a still
Start with a composition that already communicates the product clearly. Write a motion brief around one change: a slow push-in, a modest camera orbit or a gentle environmental movement. Ask for continuity in the details that matter. Save ambitious scene changes for a separate test so you can judge which part of the direction affected the result.
Check how the model uses images. A designated opening frame anchors a starting composition; an optional ending frame gives another target where supported. General reference images provide visual guidance instead. The documented Kling 3 Standard image-to-video route has separate opening and ending image inputs. Those controls do not mean that a different model accepts the same frame pair or offers an identical transition.
Use video-to-video when existing footage is the foundation
Choose a short, stable source clip with a clear subject and limited distractions. Describe the desired edit precisely, such as changing the surrounding visual treatment while keeping the product recognisable. Expect to review continuity rather than assuming an editor will preserve every frame. Camera motion, object geometry, audio and timing can all need a separate check after processing.
Video input is a distinct capability, not something implied by image references or first/last frames. For example, fal’s Wan 2.7 editing route requires a source video and currently documents a two-to-ten-second input range. AI Campaign Studio also applies its own upload and source validation. Use the controls available for the selected route; a provider’s broader file schema does not make every format available in the app.
Compare the quote and the finished take
For either workflow, compare the actual model, input mode, duration and resolution before reviewing the quote. Check that the attached file is the intended source, then submit explicitly. If the service is still processing, recover the saved job rather than assuming a missing preview means a second submission is necessary. Review any reported failure before deciding on another request.
Watch the result beside the original photo or clip. Inspect product proportions, readable markings, movement, crop and audio where present. A style change is useful only if the ad still represents the product honestly. In AI Campaign Studio, choose a completed take for your scene and review the rendered campaign separately. Neither workflow automatically publishes the video, and neither makes a generated product detail a verified claim about what you sell.
Sources & further reading
- OpenRouter: first/last frames versus reference guidance ↗
- fal: Kling 3 Standard image-to-video schema ↗
- fal: Wan 2.7 video-editing source requirements ↗
Product documentation can change. Check current provider controls and terms before production.