
Plan an AI video ad storyboard before generating clips
Build a practical three-shot ad plan with clear scene roles, approved frames, a credit budget and an explicit review before export.
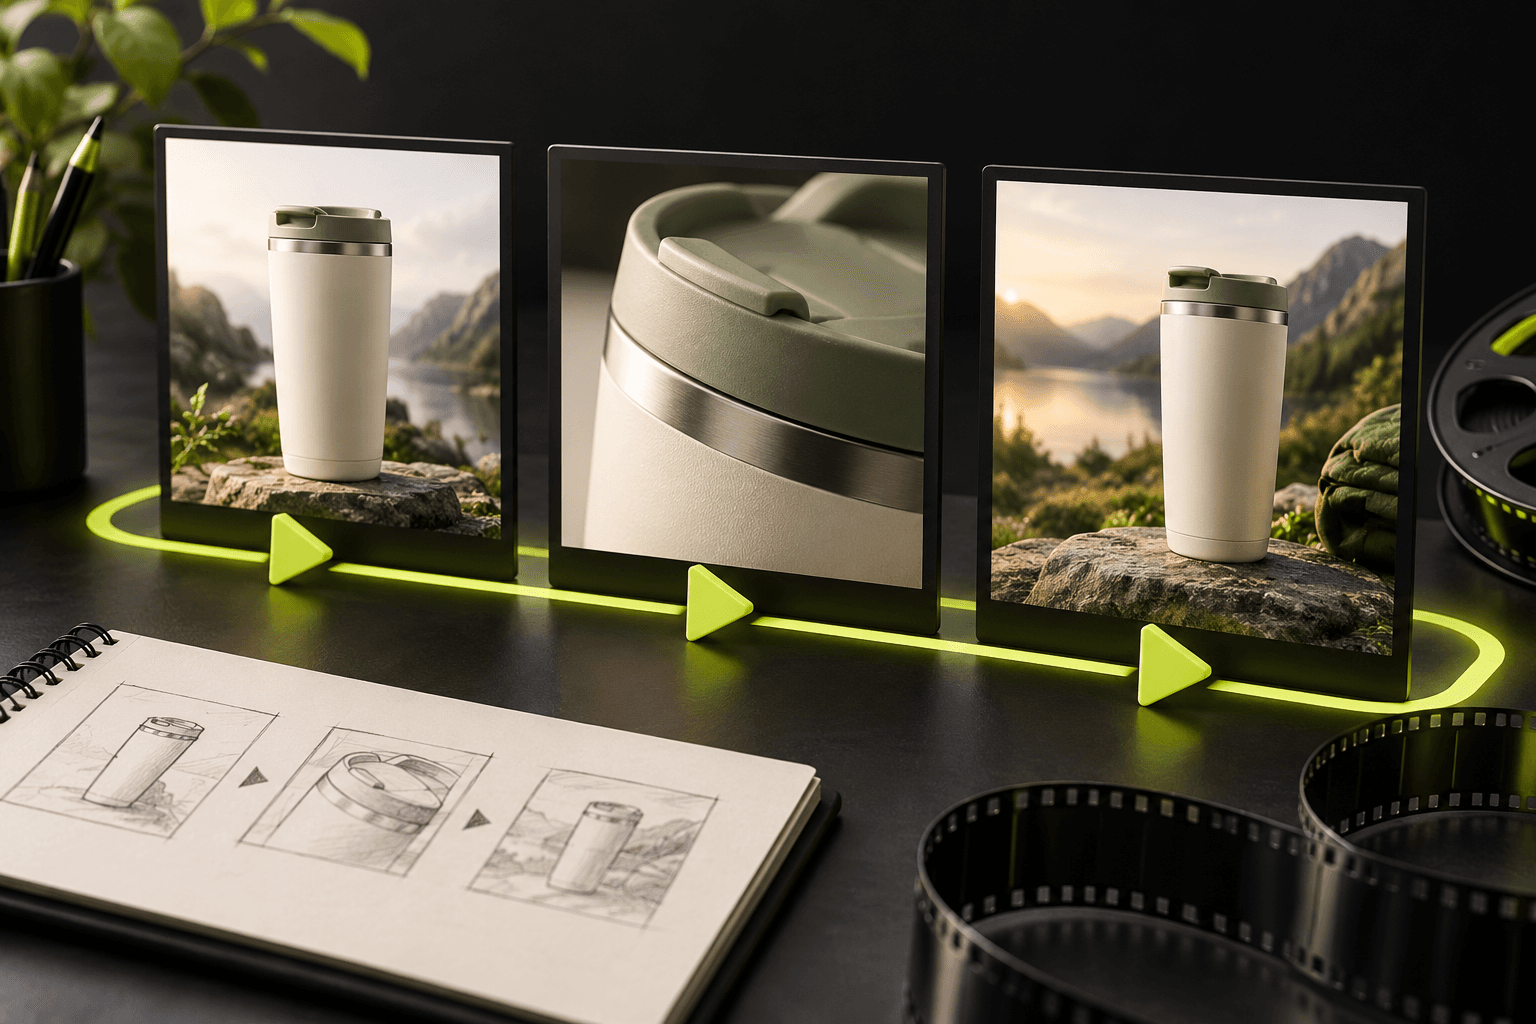
Give the campaign one clear purpose
A storyboard turns a broad request for an AI ad into decisions you can review. Start with the audience, placement, product benefit and next step. A campaign introducing a portable table lamp could focus on how it fits a small reading corner. That gives the story a setting and a useful detail to show without inventing battery-life or brightness claims.
Write the offer and call to action separately from the scene directions. Record what must stay consistent: the lamp’s finish, shade shape, proportions and brand colours. Then assign each scene a single job. This makes it easier to reject an attractive clip that does not support the campaign, and to see which missing shot actually needs another generation.
Sketch a three-shot edit with a closing card
Here is a hypothetical fifteen-second edit for that lamp. The timings describe an editorial plan, not universal generation settings or a claim that these shots have been produced. Adapt the plan to the durations supported by the chosen models, and leave room for the campaign’s closing card.
- Seconds 0–4: establish the reading corner. A gentle camera move brings the complete lamp into view beside a book. The opening should make the product and setting understandable without relying on a long headline.
- Seconds 4–9: move closer to one real detail, such as the shade’s texture or the base. Keep the same finish and lighting direction. Avoid an elaborate transformation that would obscure the product being offered.
- Seconds 9–13: return to a calm hero composition. Let the product settle visually. Reserve seconds 13–15 for the closing brand and call-to-action card, with the same message as the landing page.
Approve frames and budget each scene
Prepare an opening frame for each scene, then decide whether an ending frame adds useful control. Closely related compositions are easier to assess than a dramatic jump between unrelated settings. Check continuity across the stills before creating motion. OpenRouter distinguishes specified first/last frames from looser reference guidance; the selected model must support the chosen input mode.
Treat the frame images and each video as separate production items. Review the model, supported duration, resolution and quote before every submission, and leave a deliberate allowance for revisions. A five-second slot in the edit does not mean every provider offers five-second generation. If a supported source clip is longer, plan the scene trim and confirm the finished timing.
Choose takes, assemble and review the whole story
Review completed takes against the scene’s purpose and product checklist. Keep notes specific: the shade changes colour, the camera moves too far, or the last image leaves no clear space for the message. Replace the weak take rather than automatically regenerating every scene. A queue acknowledgement is not approval of a finished video; wait for the result and inspect it.
In AI Campaign Studio, save the campaign, attach a completed video to every scene and explicitly render the film. Assembly combines the saved clips and closing card; it does not create new provider shots. Watch the downloaded MP4 from start to finish, including scene joins, audio and the final offer. Exported caption copy is template-assisted and still needs review. Publishing remains your separate decision, after the complete campaign makes sense as one ad.
Sources & further reading
- OpenRouter: supported durations and frame/reference modes ↗
- fal: Kling image-to-video opening and ending images ↗
- fal: queued requests and retrieving completed results ↗
Product documentation can change. Check current provider controls and terms before production.