
How to create AI product images that still look like your brand
Build a useful reference set, write a focused product brief, compare variations and review the details before publishing.
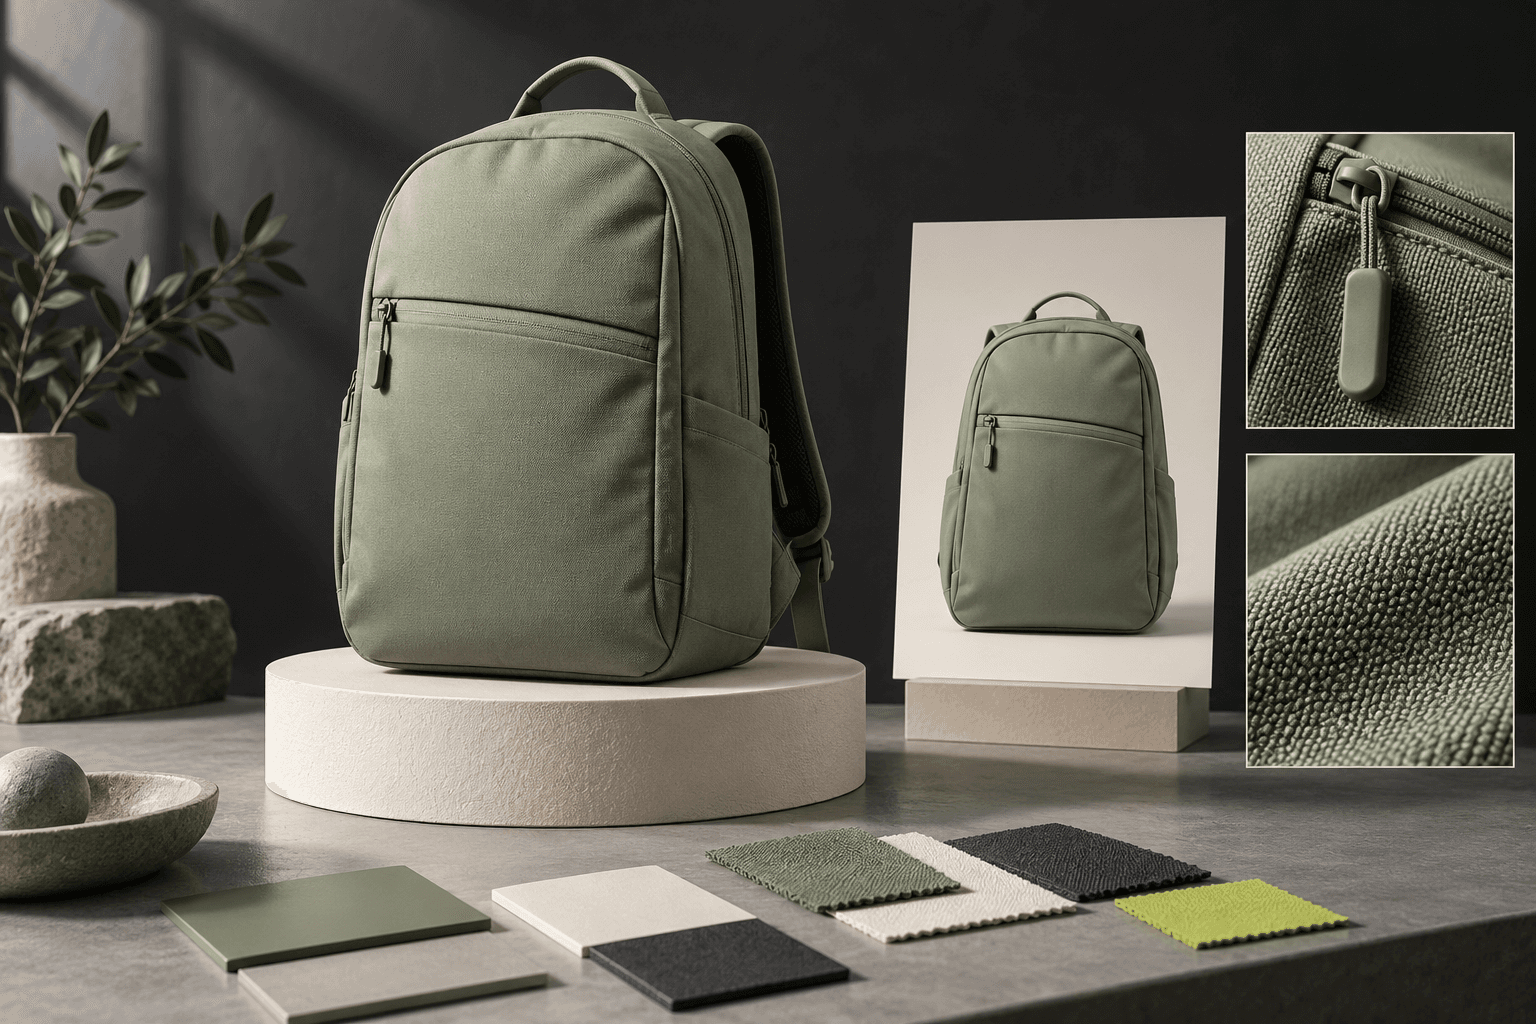
Start with the product facts and the placement
A useful product image answers a specific marketing question. Are you showing a new colour, explaining a material, or introducing the product to someone who has never seen it? Pick one job before choosing a visual style. A beautiful background cannot repair an image that changes what the customer is buying.
Write a compact brief containing the audience, one message, the intended placement and the product details that must remain accurate. Choose the crop early: a square catalogue image and a vertical social ad need different space around the subject. Keep the headline and call to action separate from the image brief so you can place accurate text in the final design.
- Lock the product's shape, colour, packaging, quantity and visible accessories.
- Specify the angle, light, background and space needed for the later headline.
- Name the reviewer who will compare the result with the actual product.
Use references for a clear purpose
Start with an approved photograph of the real product, plus a small set of references you have permission to use. Give each reference a job: product identity, composition or mood. Mixing unrelated examples can leave the model with conflicting instructions. Remove customer information and confidential material that the provider does not need.
Reference controls vary. Adobe describes structure references as guidance for outline and depth; Canva documents generation from Brand Kit photos. Those are useful examples of different controls, not a guarantee that every model preserves a product exactly. In AI Campaign Studio, a brand kit adds your brand context to the workflow; it is not a promise of a separately trained brand model. Check the selected model's supported image inputs before uploading.
Change one variable and compare small batches
Begin with one composition and test a deliberate change, such as warm daylight versus soft studio light. Keep the product reference and camera angle stable. Review the quote before each generation and decide how many attempts you can afford. A free bundled sample can explain the workflow, but a bundled sample does not prove how a live model will handle your product.
Try a brief like this: Use the attached bottle as the product reference. Create a vertical product photograph on a pale stone surface with soft morning light from the left. Keep the label facing the camera and leave the upper third uncluttered for a headline. Do not add props that could be mistaken for included accessories. This is an original example to adapt, not a tested recipe or a fidelity guarantee.
Review the image as a customer would
Compare the result against the source photo at full size. Inspect labels, connectors, seams, reflections and any hands touching the product. Reject a variation that invents a feature or creates a misleading impression of size. Put verified prices, claims and legal text in your final layout rather than trusting generated lettering.
Keep the approved source, chosen output and final brief together. Check the destination's current asset requirements and the selected provider's terms before publication. Canva's guidance explicitly distinguishes commercial use from exclusive rights and permissions for recognizable people or brands; do not assume that paying for generation resolves those questions. Once the still is approved, reuse it as a starting frame only with a compatible video model, then review the motion separately.
Sources & further reading
- Adobe Firefly: product-shot workflow ↗
- Adobe Firefly API: structure reference images ↗
- Canva: on-brand image generation ↗
- Canva: Magic Media and output rights ↗
Product documentation can change. Check current provider controls and terms before production.